Visit our Toggle Clamp Department

Toggle Clamps


4 Second Place Winners

Each receives a $50 store credit at Highland Woodworking


Mandolin Building Jig 2nd Place Winner

Chris Baird's Jigs for Building Mandolins

These are all jigs designed for building mandolins. The first one holds a mandolin rim while a CNC cuts the scroll channel. The second jig pictured holds a mandolin rim while a CNC cuts the dovetail neck joint. The third jig is a heated mandolin side bending machine (of my own design and build). And finally, the fourth jig shown is a glue-up form for the mandolin sides (made with the third jig) and the interior blocks.

Click on any picture to see a larger version.


Mandolin Building Jig Mandolin Building Jig Mandolin Building Jig

Sled for Cutting Small Pieces 2nd Place Winner

Fred Kachelhofer's Sled for
Cutting Small Pieces

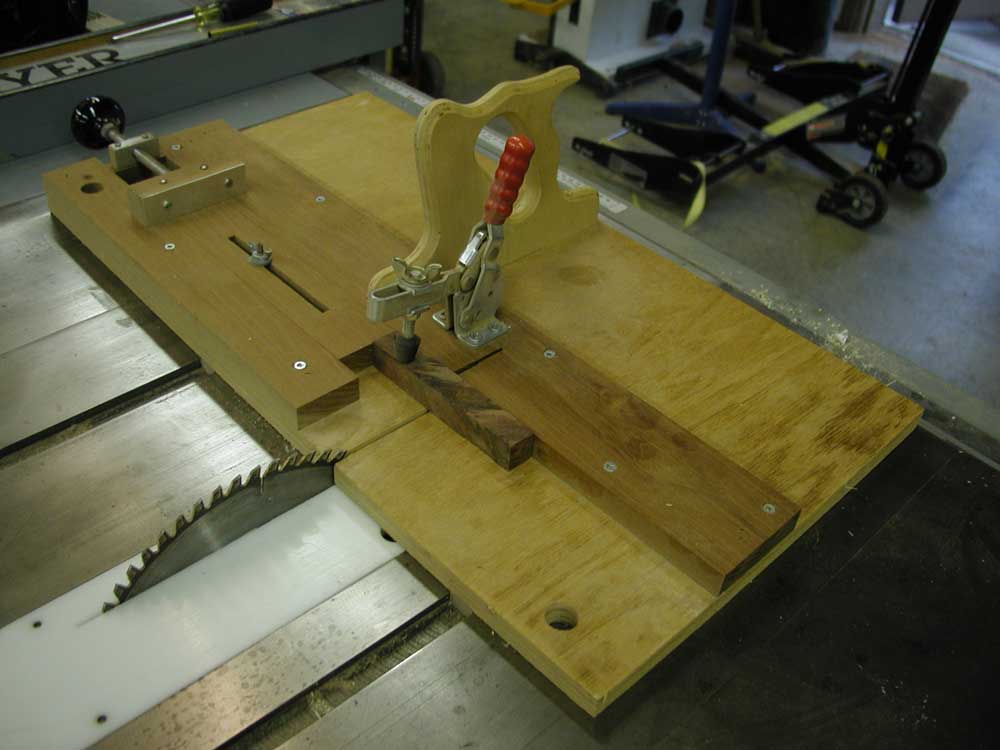
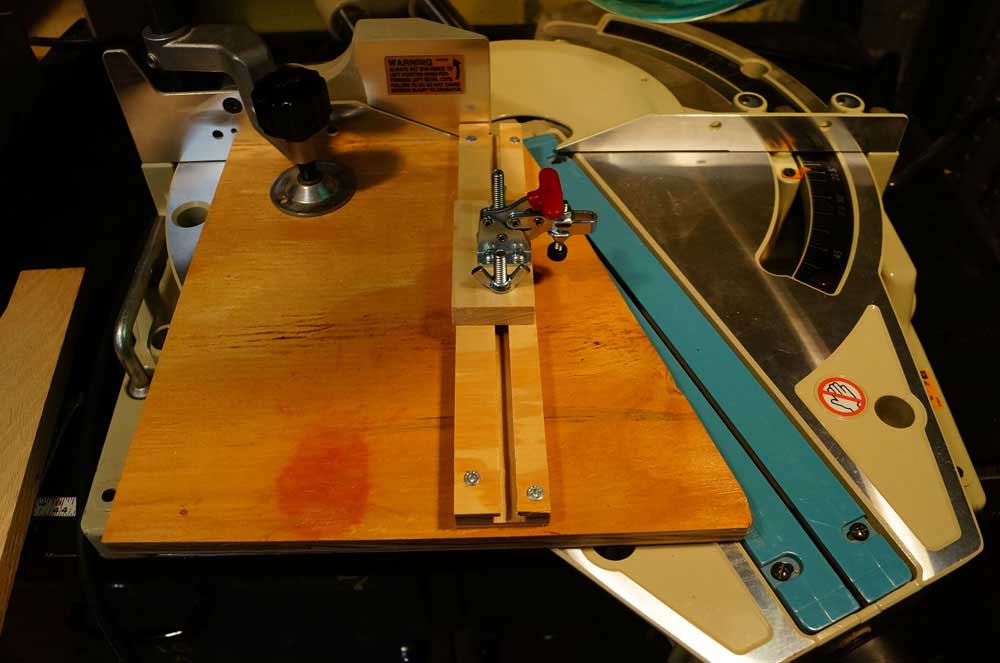
When trying to cut small pieces such as pen blanks in preparation for drilling, I was always uneasy trying to hold the piece in place safely. It was also difficult to get a very accurate cut. This sled was my answer to both problems.

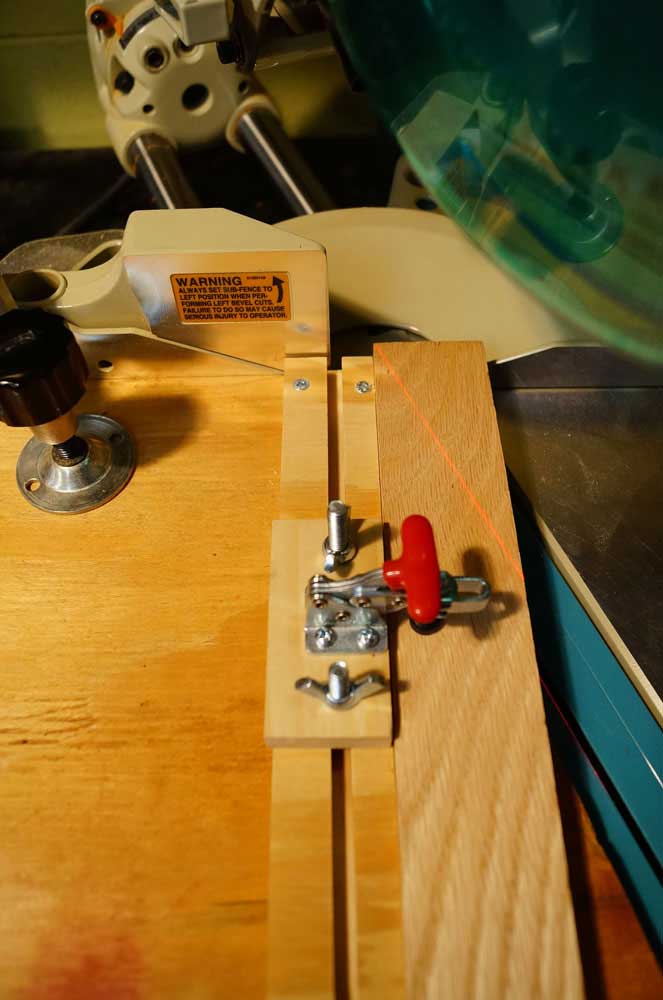
The sled is runs on two strips in the slots on the table saw allowing for a smooth accurate cut. The handle was traced from one of my handsaws and cut out of 1/2" plywood and all edges rounded over with the router. The wing nut on the slot for the adjustment screw is secured with a hanger bolt. The piece being cut is held in place with a toggle clamp.

The sled is very easy to use. Once it is in place on the saw top, either take a measurement from the stop or place a pen barrel on the sled. Loosen the wing nut on the slot and turn the handle on the adjustment screw to exactly where you want it. If you like to have the pen blank a little long to allow from barrel trimming it is easy to see just how much excess you will have. Tighten the wing nut and you are ready to cut. Note that you do not have to take a measurement.

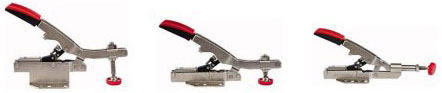
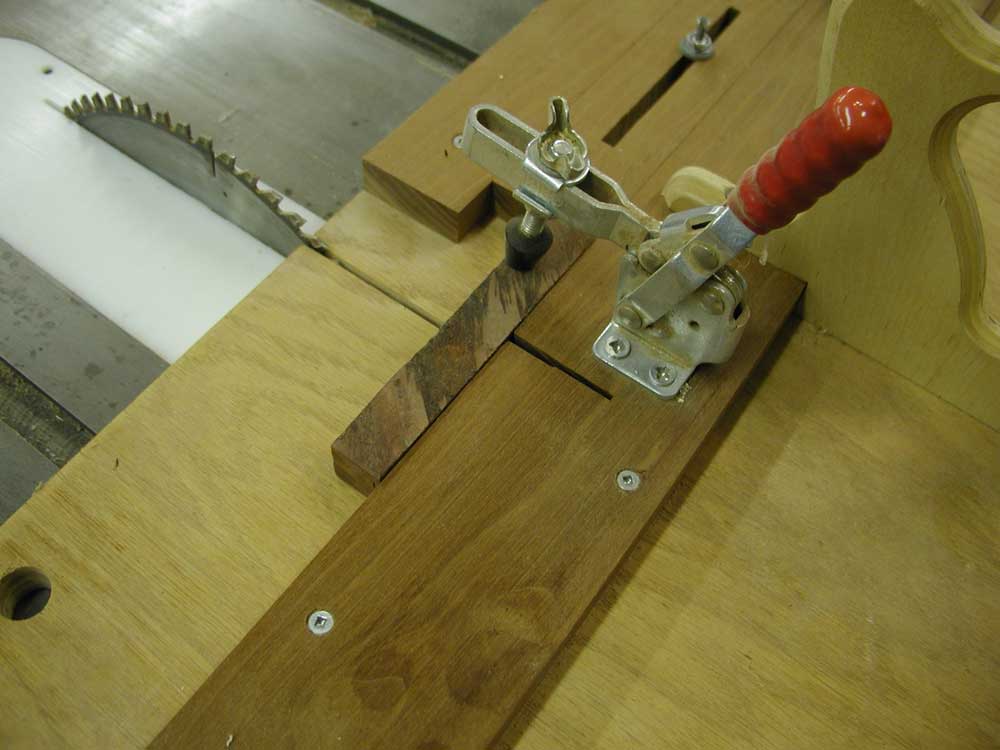
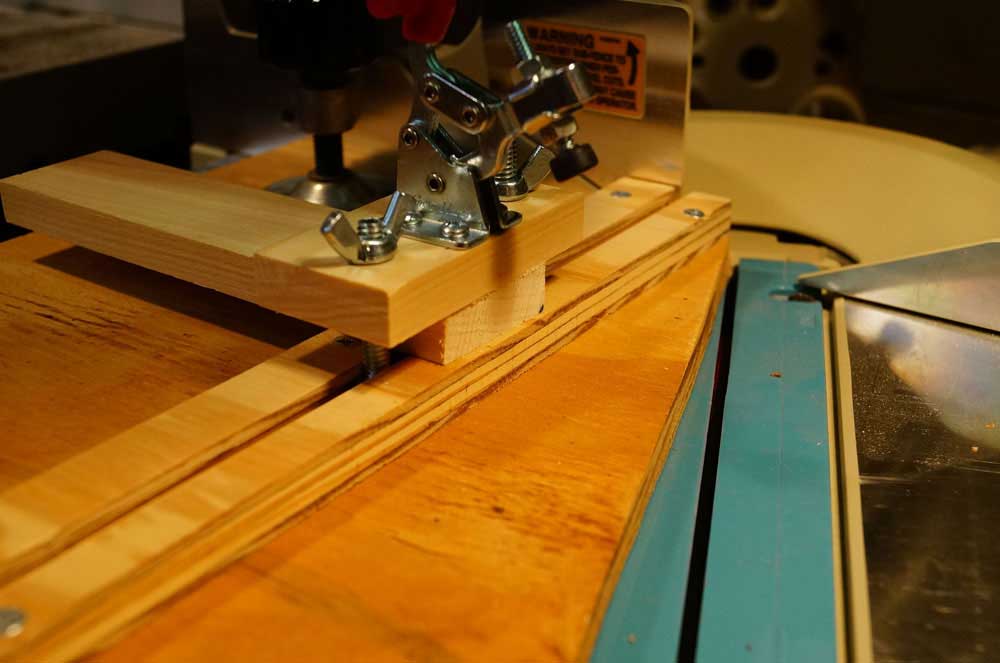
Place the pen blank in the jig and tighten the toggle clamp. Notice that I have replaced the hex nut on top of the clamp with a wing nut to make it easier to make adjustments for correct clamping pressure.

Now turn on the saw and slide the sled forward to make the cut. Repeat as necessary.

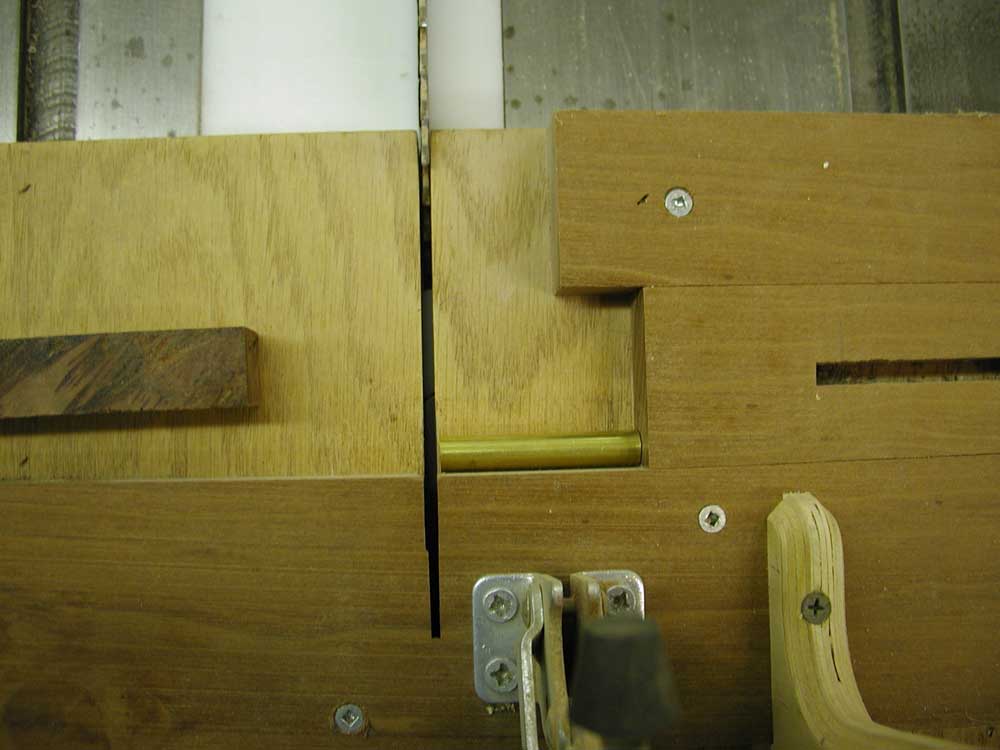
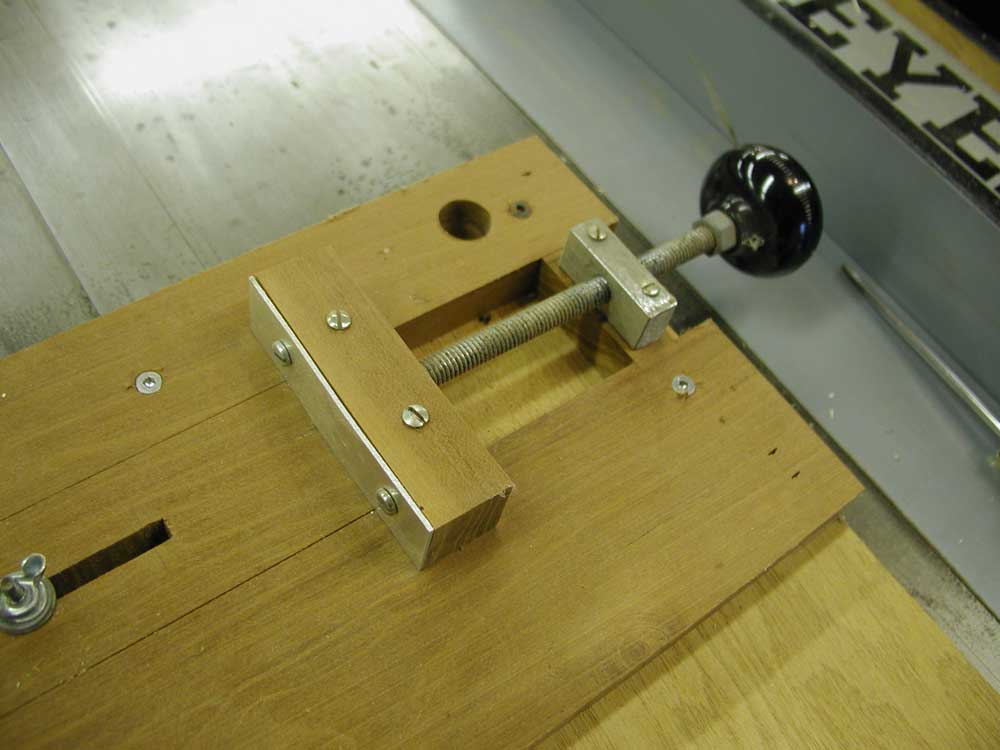
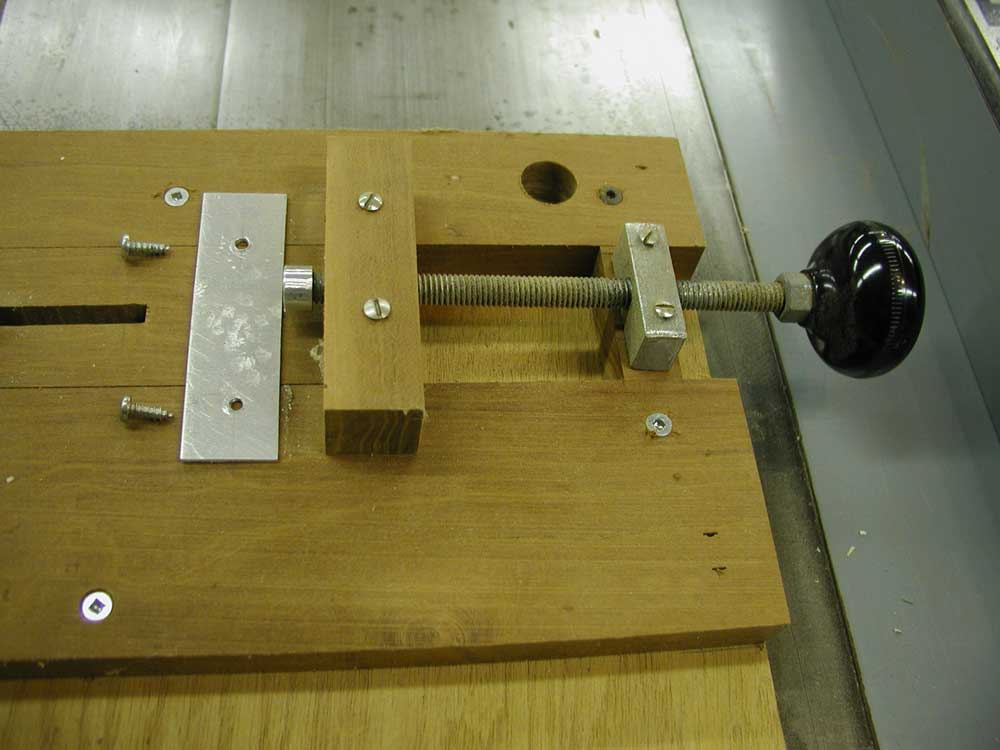
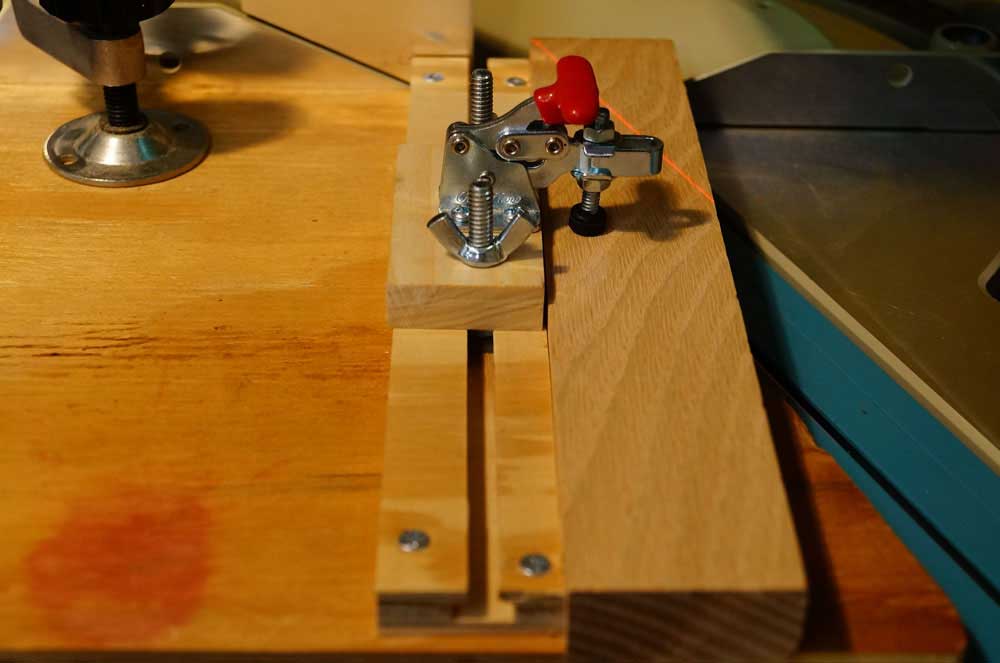
The third picture below shows a close up of the adjustment screw. The piece at the right is a metal block drilled and tapped for the proper size all thread rod being used. The knob is something I had and the nut by the knob is used as a jab nut to keep the knob from turning on the rod. This piece is fastened to the main sled body.

The block with the aluminum plate on the front allows for a "Push/Pull" arrangement. Without this you would only be able to "pull" the block back. To give the ability to "push" I ground a nut round and drilled a hole to recess it in the block. When the aluminum plate is in place then the nut can "push" against the plate and move the adjustment to the left. The depth of the drill for the nut is critical. If the hole is drilled too deep, there is "play" in the adjustment.

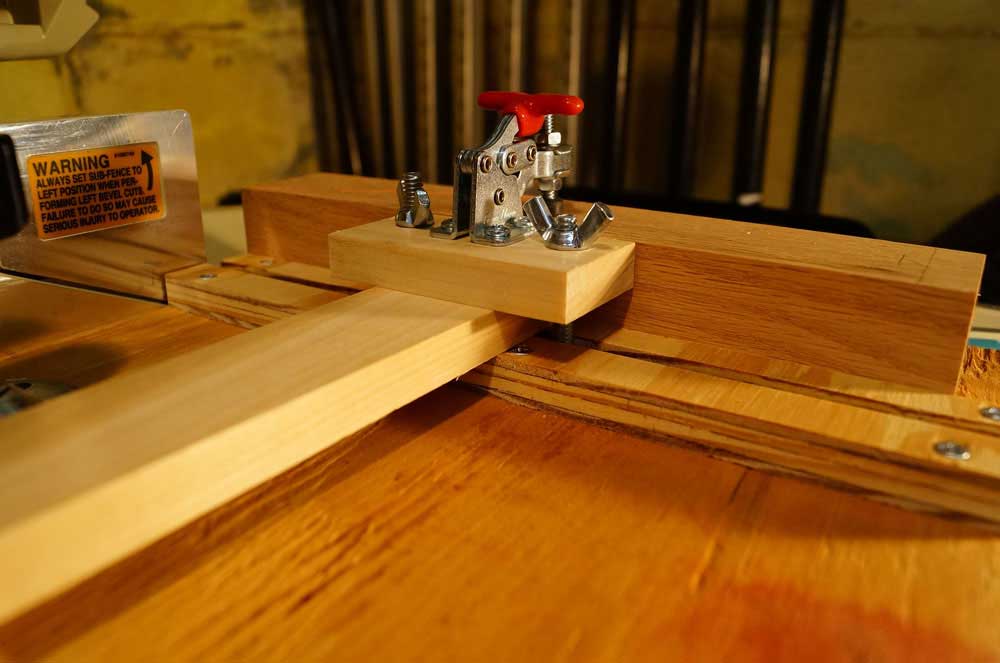
Of course the sled can be use to make any small cuts. Notice that I made the adjustment mechanism so it has several inches of travel. After over 50 years of woodworking I still have all ten digits and I want to keep it that way.

Click on any picture to see a larger version.

Sled for Cutting Small Pieces Sled for Cutting Small Pieces Sled for Cutting Small Pieces Sled for Cutting Small Pieces

45 Degree Adjustable Miter Jig 2nd Place Winner

Tony Profera's 45 Degree Adjustable Miter Jig

I was tired of picture frames and boxes having gaps at the 45's. It was time to build a miter jig that has adjustable wings on both sides. I can now dial in 45's with extreme accuracy by adjusting the angle on each wing. The blade gets buried in the center rail for safety. The toggle clamps are adjustable in and out to accommodate varied stock width and height. The entire carriage assembly unscrews for maintenance/upgrade (none needed so far).

Click on image to see a larger version.

Low-Angle Miter Saw Fixture 2nd Place Winner

Chris Wolf's Low-Angle Miter Saw Fixture

A miter saw or miter gauge will cut angles of 90 to 45 degrees, and a typical tapering jig is good for angles up to about 15 degrees, but how do you make cuts in that in-between range, 15 to 45 degrees? This fixture mounts on a miter saw to hold a workpiece for those cuts.

It consists of a 1/2-inch plywood base about 11 inches square with a narrow piece of 1/2-inch plywood mounted on top as a fence. The fence is slotted so it doubles as a T-track. The fixture mounts on the saw with its fence (and the workpiece) at 90 degrees to the mitersaw fence. The workpiece is held by a toggle clamp mounted to a small piece of wood which slides forward and backward along the fence in the T-track. Mounting the clamp on T-track serves two purposes: 1) allows you to position the clamp in the best location for each workpiece, and 2) allows the use of spacers to raise the clamp for thicker workpieces. Photo 1 shows the fixture in place on the saw with the saw adjusted for a 22.5 degree cut.

Photos 2 and 3 show a piece of 3/4-inch oak ready to be cut, with the laser showing the cut line.

Photo 4 shows the fixture with a spacer inserted to raise the clamp for a thicker workpiece.

Photos 5 and 6 show a piece of 1-1/2-inch oak ready to be cut.

Low-Angle Miter Saw Fixture

Click on any picture to see a larger version.

Low-Angle Miter Saw Fixture
Low-Angle Miter Saw Fixture Low-Angle Miter Saw Fixture Low-Angle Miter Saw Fixture

Return to Jig Contest Winners Front Page

Go to Highland Woodworking Home Page


Bookmark and
Share

See Previous Newsletters Subscribe to our Newsletter

Copyright © 2013 Highland Woodworking, Inc.

Safe Woodworking Disclaimer

Highland Woodworking | 1045 N. Highland Avenue, NE | Atlanta | GA | 30306 | 404.872.4466

www.highlandwoodworking.com

www.woodnewsonline.com