Coffee Tragedy
by Curtis Turner
Round Rock, TX
Note: Click on any picture to see a larger version.
I like coffee, there I said it. I am not the type of coffee drinker that can spot a Robusta bean in a sack of Arabica beans. Nor can I tell if the beans came from the shady side of the hill. I do however, enjoy a strong cup of black coffee. So, what is the tragedy and what does it have to do with turning?
Let me clarify, this is not a tragedy like spilling a full cup of Starbucks coffee. However, there was an accident involving a ceramic coffee container, which was a gift from my in-laws. More specifically, I accidently dropped and shattered the lid of the container.
After pondering this tragic accident, I realized I could turn a replacement lid.
Let’s get started
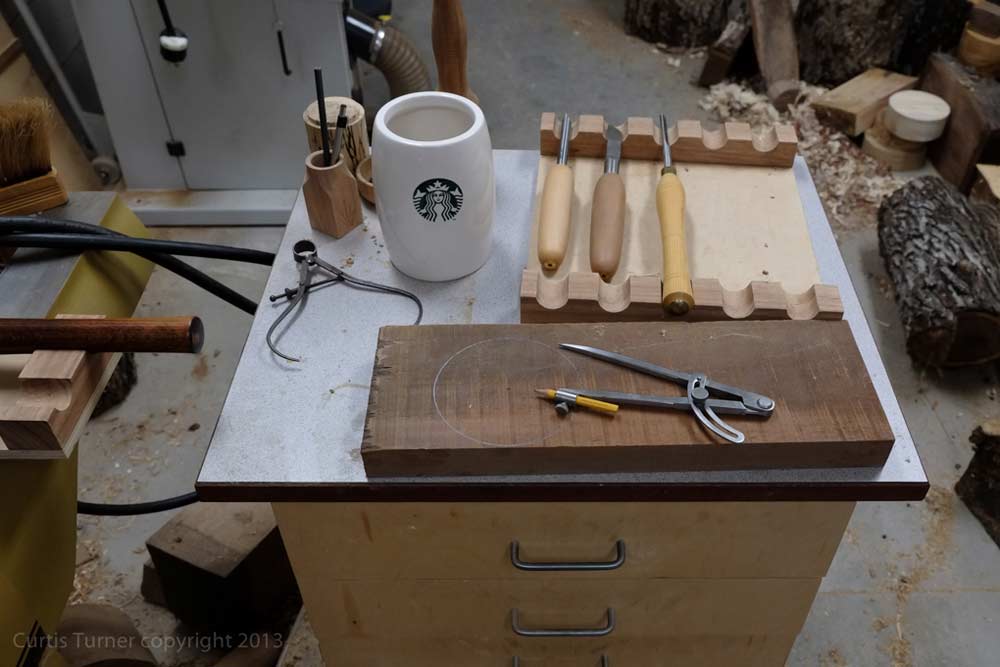
I began the hunt shuffling through my cut offs to find a suitable blank. I hoped to find a darker wood simply because I thought it would contrast nicely against the container. I avoided woods that were very porous, because they would not properly seal the container. I also avoided any woods that could impact the flavor of the coffee. The piece I selected was probably from the mahogany family (see Photo 1).
|
|
Photo 1
|
First, I mounted the blank between centers and used a bowl and spindle gouge to turn a tenon. I used this mounting method because the piece was not thick enough to allow for using a worm screw or faceplate and leave enough material for the lid. Of course, a glue block would have also worked.
Refining the fit
|
|
Photo 2
|
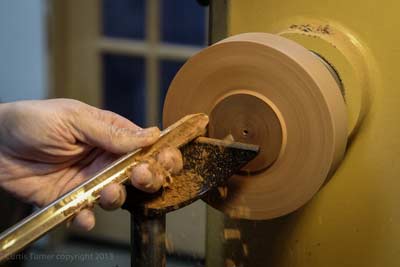
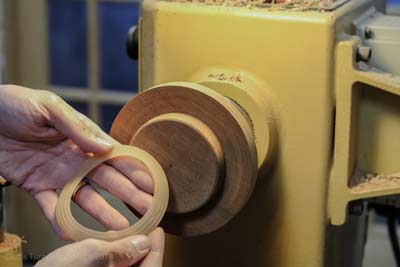
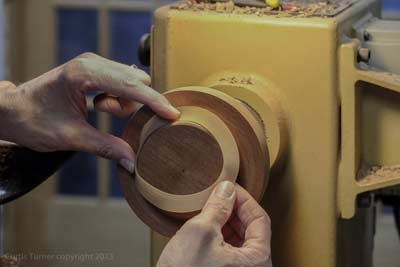
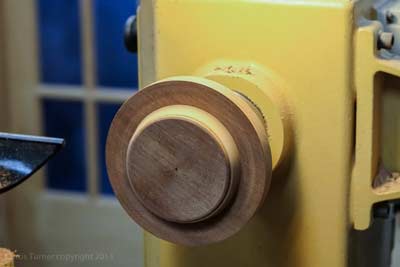
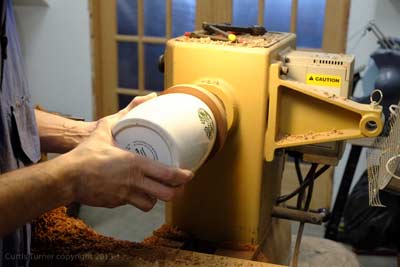
Next, I remounted the blank in a chuck. Then I used calipers to estimate the diameter of the tenon. Luckily, I was able to salvage the silicone seal. So this became more of a guessing game to fit the lid and seal to the container. I turned the tenon slightly oversized (see Photo 2) then began the process of removing a bit of wood and test fitting until the container would fit snugly against the seal and the lip of the lid (see Photos 3, 4, and 5). I had to tapper the tenon (like a cork) to accept the seal and wedge properly into the container (see Photo 6). I then spent time refining the rim of the lid. I used a small ogee profile under the rim. This undercut is more about function than style. This rim treatment will give me a better profile to grip during actual use.
|
|
Photo 3
|
|
|
Photo 4
|
|
|
Photo 5
|
|
|
Photo 6
|
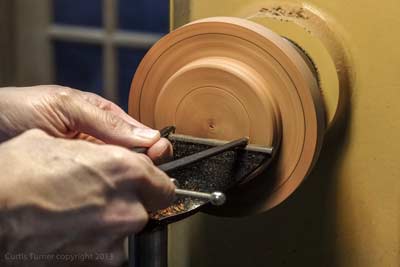
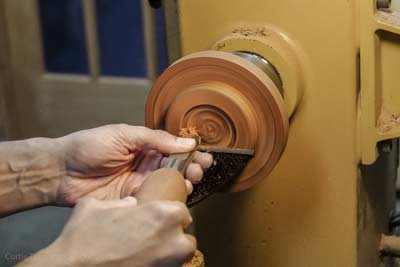
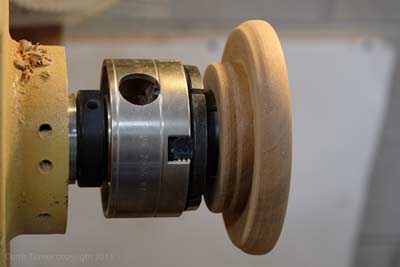
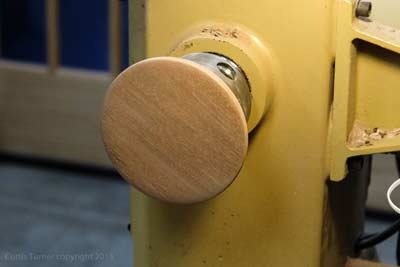
Once I was satisfied with the fit, I moved on to turning a mortise in the underside of the lid. This would allow me to reverse mount the lid. I used dividers to gauge the diameter of the mortise to fit the chuck (see Photo 7). I used the long point of a skew flat on the tool rest similar to a scraper to undercut a dovetail (see Photo 8). This gives the chuck jaws a better gripping surface. I used the chuck in expansion mode to grip the lid (see Photo 9), thus allowing access to the top of the lid. Then I spent time cleaning up the lid and completed sizing the lid diameter (see Photo 10).
|
|
Photo 7
|
|
|
Photo 8
|
|
|
Photo 9
|
|
|
Photo 10
|
Finishing
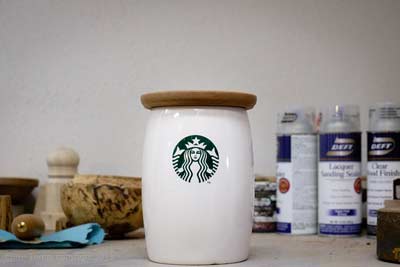
I sprayed sanding sealer for the first coat. After sanding with 220 grit paper I sprayed several coats of semi-gloss lacquer over the course of several days. I let the lid cure for a few more days before putting it to use (see Photo 11).
|
|
Photo 11
|
I am happy to say the container is back in service. Sometimes the solution is found outside the box or the container.
Curtis was the 2012 President of
Central Texas Woodturners
, a member of the
American Association of Woodturners
, and a member of
Fine Woodworkers of Austin
. Curtis teaches and demonstrates nationally for Lie-Nielsen Toolworks. He also owns a studio where he teaches and works. Curtis lives and works in Central Texas with his wife and four young children. Take a look at his website at
www.curtisturnerstudio.com
.
