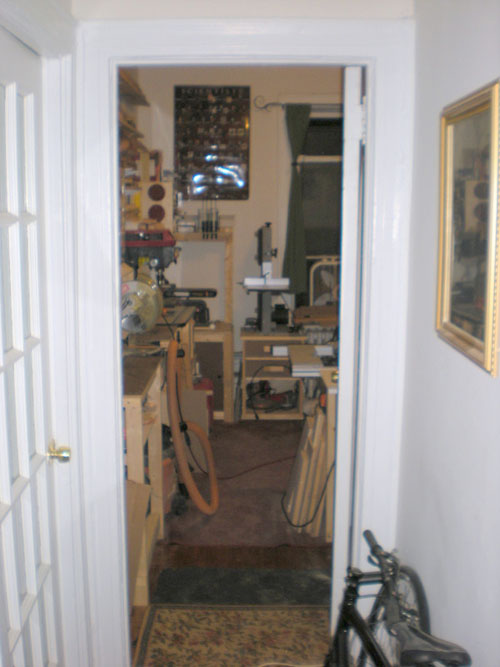
Here's My Workshop!
by Daniel Chiappetta
Astoria, NY
In a less than ideal situation, I was bitten with the woodworking bug while living in New York
City. The need for a couple of furniture items and an unwillingness to spend good money on a
throw-away solution led me to borrow a handsaw and a drill from my Dad's old collection and get to
work. This was done on a small porch with a bit of difficulty (and a lot of sanding), but I was
hooked, and as they say the rest is history. After a couple of quick and unexpected moves and an
acquisition of some better tools, my girlfriend and I found ourselves searching for a new apartment,
and me personally, for a dedicated space. Well we found an old, large apartment in the borough of
Queens with a second bedroom that shared no walls or floors with neighbors. We knew this was it, so
we signed some papers and officially started what has now been a 2-year process of turning a 9'x12'
NYC apartment bedroom into my shop.
My shop is far from the nicest, most advanced, or well-stocked shop out there, but I do believe
it is quite unique and I love my time spent in there. I've also been able to build a number of
things I'm proud of, some approaching the size of the shop itself (maybe a little exaggeration).
Without further ado, my shop:
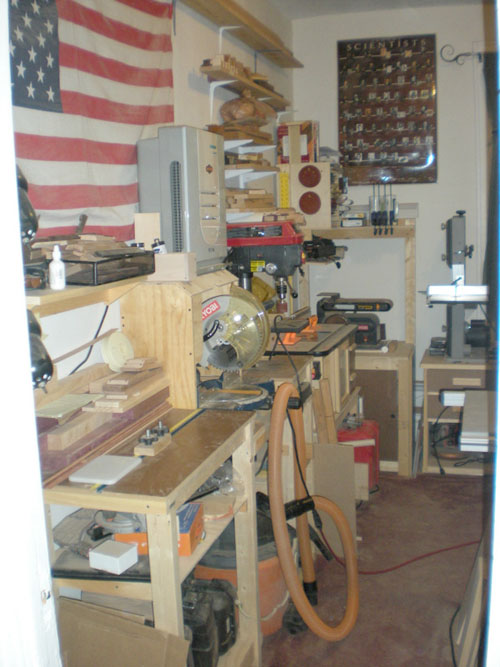
This wall houses my chop saw station, which also contains dust collection (Ridgid shop vac with
HEPA filter) and my drill press. The router table is beyond, at the same height, to allow for long
boards (about a 9' capacity in a 12' room). I put a T-track with ruler tape into the table to make
quick, repeatable cuts with a homemade stop-block.
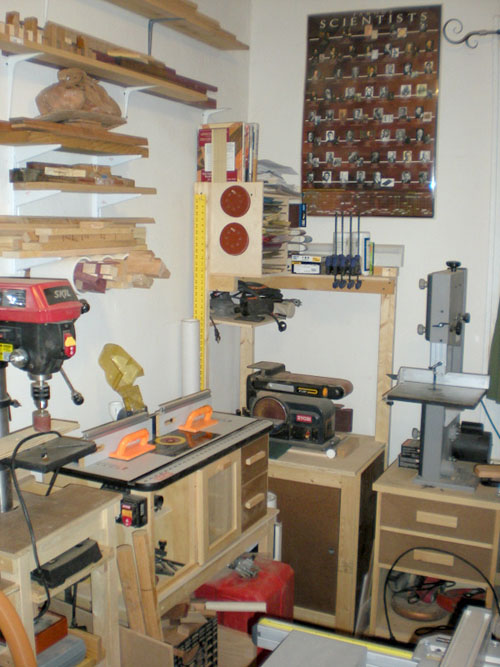
Another shot of the router table, with the sanding setup behind it, housing my sandpaper, and
stationary disc and belt sander. It also serves as my library (on top). The bench-top bandsaw is
also there. While not a powerhouse, I have successfully re-sawed up to about 4.5'' of curly rock
maple with a good blade. My inspirational poster is also in the background.
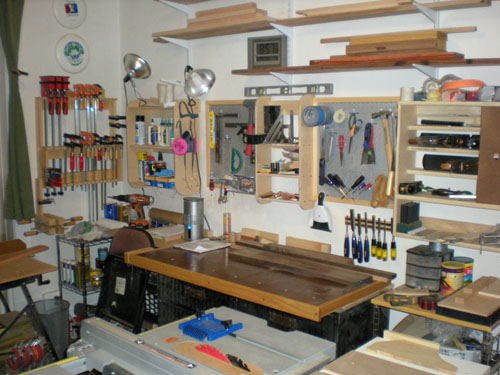
This shows my main work bench and peg-board with my most used tools. If you'll notice there's no
jointer or planer, which means that the planes to the right get a good workout at the beginning of
every project. My table saw is also peeking at the bottom.
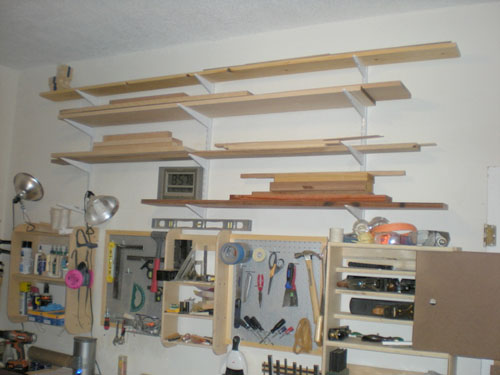
My lumber storage. It's looking a bit empty now, though I'm afraid to load it up too much as I
don't want to test the holding power of these 1920 studs.
I usually do small projects but have managed to pull off some bigger builds with a bit of
dexterity in space management.
The entrance is a small hallway that only hints at what is going on behind the door (or as more
than one friend has put it, it's like you have a garage in your apartment).
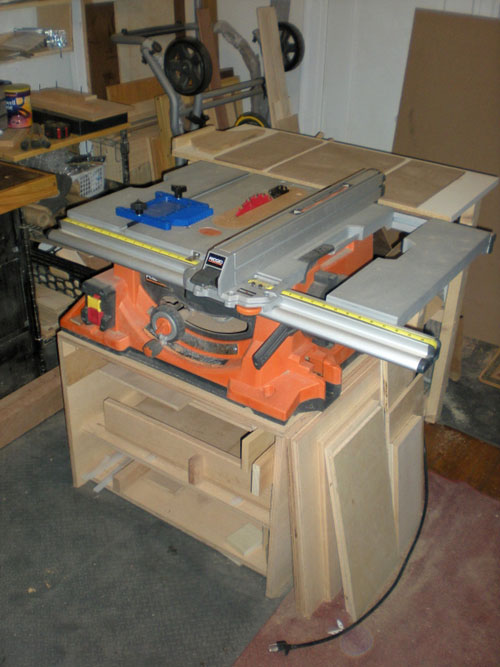
My nicest machine in the shop. This one is my go-to for a lot of projects and has been a welcome
upgrade from the first, unnamed budget model. It also has jig storage below and some smaller
sheet good storage at its side. A basic outfeed table is about all that can be fit without
obstructing the closet door.
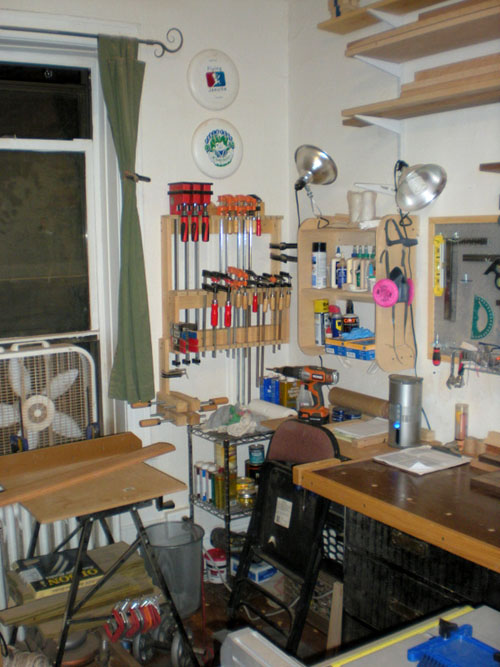
This is my secondary work surface, with the venting fan behind it. This makes it serve well as a
sanding area also. I have my modest clamp collection in a hinged clamp rack, with my finishes on
the metal rack below. Various glues and such are hung from a french cleat shelving system, along
with my dust mask and auxiliary lighting.
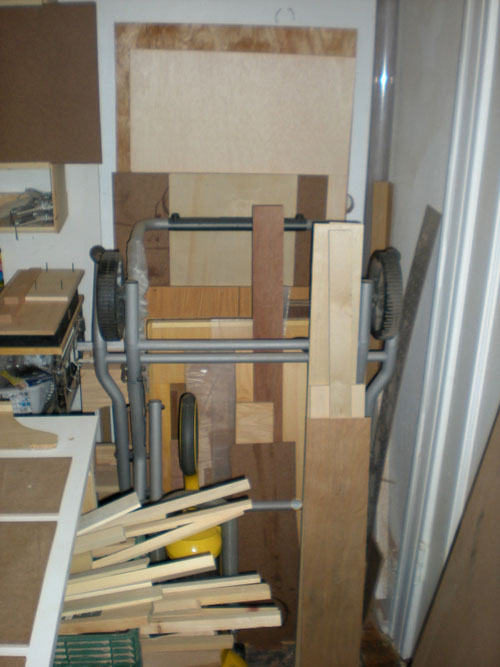
|
And finally, some sheet good storage stacked up against a
spare door. This gets a bit unruly if neglected for too long.
|
|
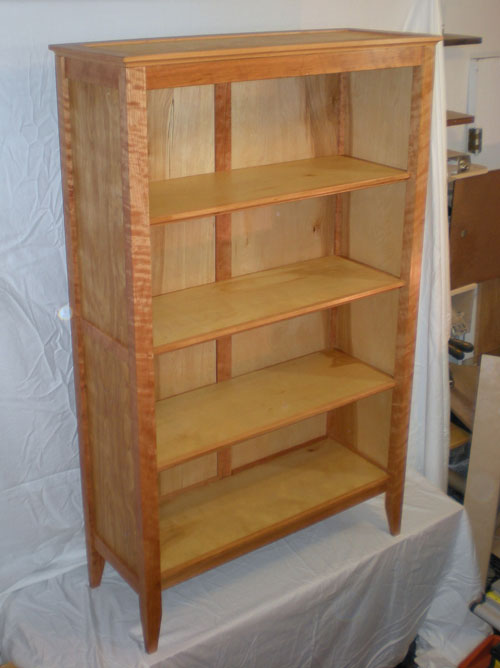
|
Cherry Bookshelf
|
|
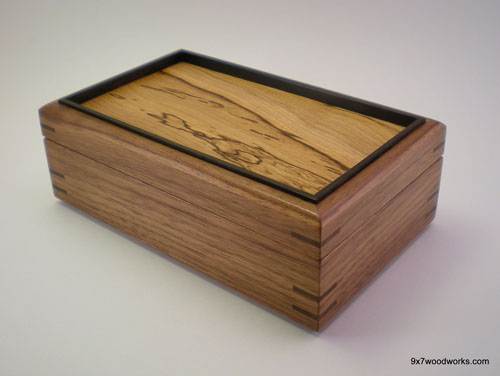
|
Walnut and Ebony Box
|
|
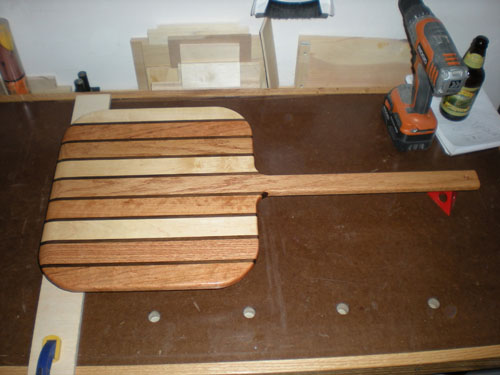
|
|
Cherry, Maple & Red Oak Pizza Peel
|
|
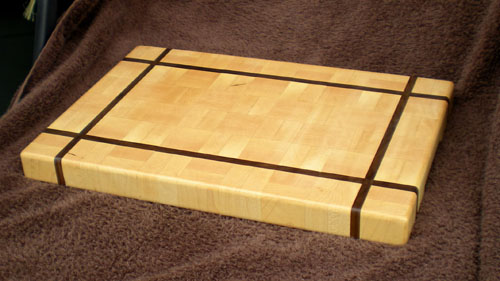
|
Maple and Walnut Cutting Board
|
|
|
|
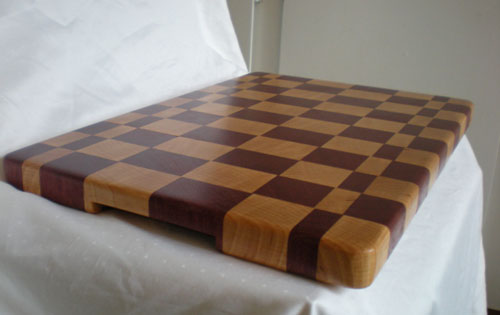
Maple & Purpleheart Cutting Board
|
|
|
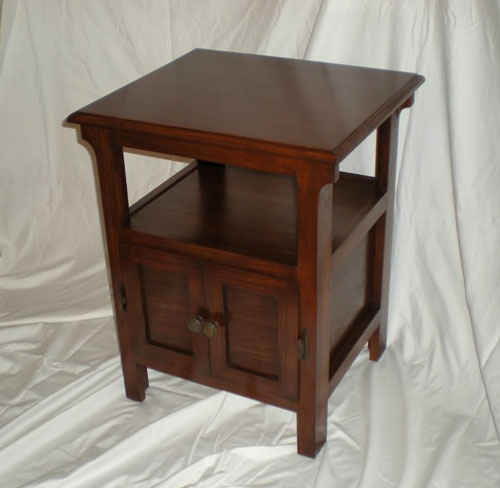
Poplar Nightstand
|
|
|
|
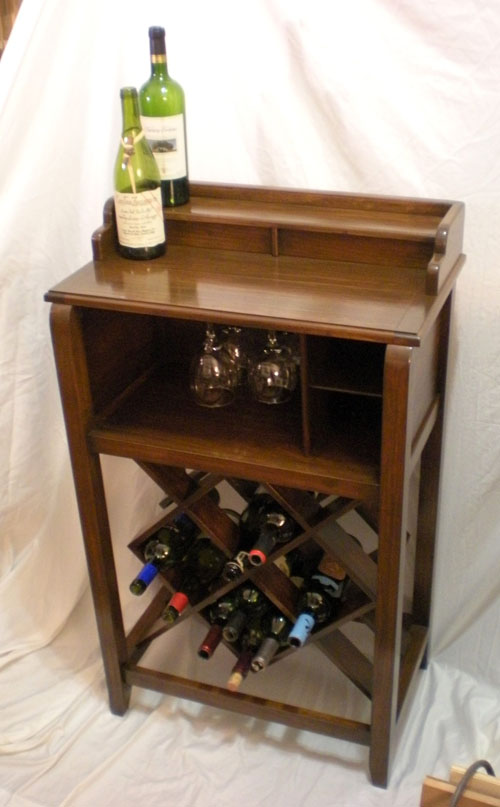
Poplar Bar Table
|
|
Return to
Wood News
front page
