The invention of the Pantograph, an ingenious tool for copying and resizing images dates to at least the 1600's.
While seeming primitive it has peculiar advantages over modern digital imaging for resizing, as we
will see.
I purchased my vintage K & E Model 1144 21" pantograph for a song at auction, and it has been an
essential part of my tool kit ever since. You'll find links for more information about purchasing-
and making your own- pantographs at the end of this article.
The basic elements of the pantograph are four scaled bars (or if you like, two pairs of hinged
bars) fabricated from hardwood, composite, or even cardboard, with the pairs flipped into opposition
and held together by pinned or threaded connectors (screw-eyes on my pantograph) which allow
variable enlargements (and reductions) to be transferred from your original image onto a blank
sheet.
Properly assembled, the fulcrum, tracer and pencil point will be in a straight line with one
another, and the interior of the pantograph will resemble a parallelogram in shape:
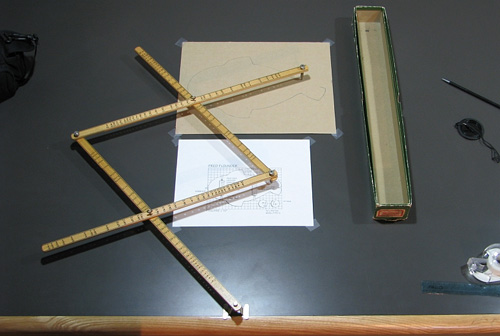
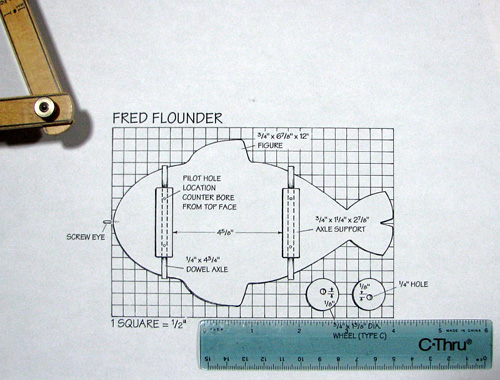
In this example I want to enlarge the 1/4"-scaled Fred Flounder Project (Plan FF1) to the correct
1/2" scale (or full scale) for tracing the body outline onto my wood stock.
Referring to the above and detailed photos below, the critical mechanical parts of the pantograph
are: the fulcrum fastened to your work surface, typically by a clamp or tacks such as push pins. I
use a pair of brads inserted through the fulcrum into a pair of pre-drilled holes on my laminate
top. Think of the fulcrum as a small vise securing and locating the otherwise moveable parts of the
pantograph:

The pivot or sliding support which balances the pantograph in use:
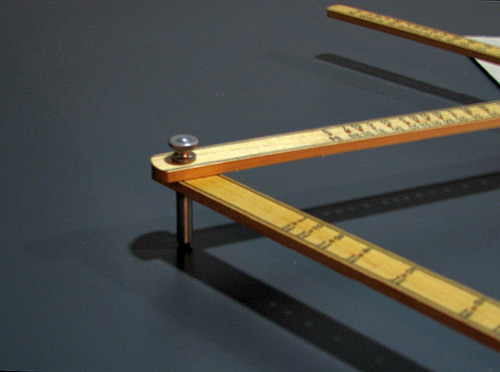
The tracer with the needle tip which follows the original's lines during use:
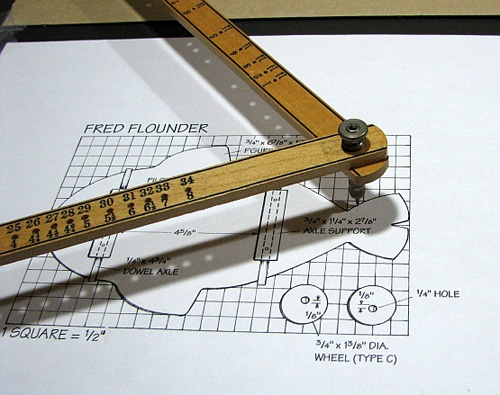
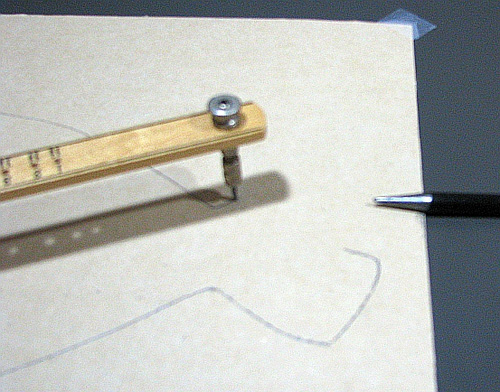
And the pencil point which transfers the image's lines to the blank. Note that this is the only
part of the pantograph that you will touch while making your transfer. Your eyes will be on the
original, moving the tracer's point along the lines to be copied, while your fingertips will
maintain slight pressure onto the pencil point as you make the copy.
How to use a pantograph
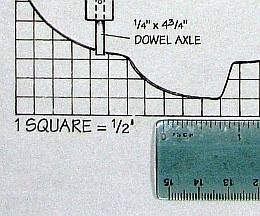
While the downloaded Fred Flounder plan's background grid measures 1/4" x 1/4" per grid square,
the actual size per square is listed as 1/2" x 1/2"- so a 200% enlargement of the original is
required. (You can certainly just enlarge it on your copier, but this article is about using the
pantograph!). Always measure to confirm the grid size of your original with a rule before adjusting
the pantograph.
The heart of the pantograph is a set of adjustable scaled bars which feature those
strange-looking number patterns and through-holes for the connectors. Various increments for
adjustment are marked on the paired bars depending on the pantograph you're using.
Because of the physical limitations of the typical pantograph, intermediate adjustment options
are always more limited as the scaling increases. On my unit, for smaller scaling (x2 or x3 for
example), 1/8 increments are offered; at the unit's largest scaling limit, you move from x7 to a
single x8 adjustment with no intermediaries - take it or leave it! And that's one whopping
enlargement, so I hope you have a great big work surface...and a great big piece of paper.
This photo illustrates the pair of "2's" which will be connected by the screw-eye, corresponding
to our project's x2 (or 200%) enlargement. Don't over-tighten the connection - it should be just
slightly loose so the bars move without friction:
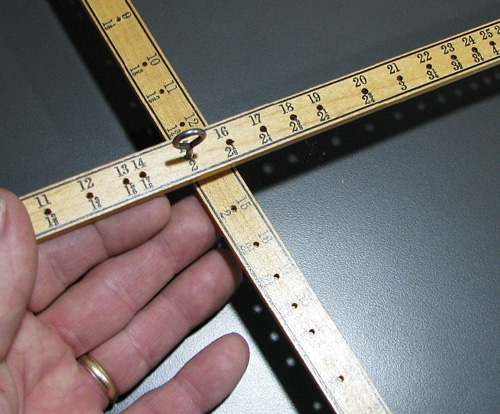
Repeat the same connection on the opposing pair of bars.
With the pantograph adjusted and secured by the fulcrum, place the original image in position on
your work surface so that the tracer's tip aligns with the line you wish to copy. Cellophane tape
secures the original to your work surface.
Now, using a blank paper at least twice the size of the original, position it parallel to the
original and beneath the pencil point - but keep the point raised slightly while you adjust the
paper's location until you convince yourself that as you trace the original, the pencil point's tip
will be confined to the blank paper! No use enlarging the original if some of it wanders onto your
work surface...secure the blank with tape, and you're ready to go.
Keeping your eye on the original's line you wish to copy, follow it with the tracer needle by
moving the pencil point maintaining light fingertip pressure. Here is the pencil point:
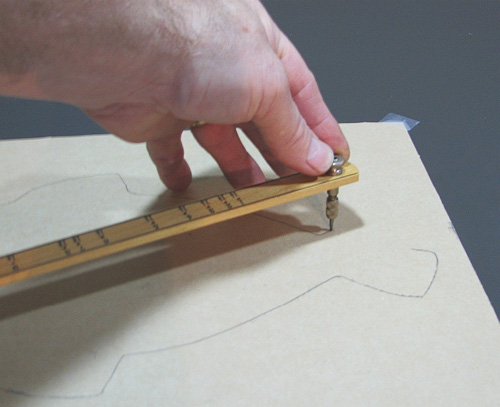
It takes very little pressure on the point to create your copy. I use my little fingertip to
balance it as I carefully follow the line on the original with the tracer. You will experiment and
find your own way.
Yes, it's about precision, but more about keeping a bit of speed up and continuing your movement
until you complete each outline you wish to copy. As with everything it requires practice but is
very easy to master.
Conclusion
With the mechanism set up, this outline took under two minutes to complete.That's nearly as fast
as making a digital enlargement on your copier, and a whole lot less expensive in the long run.
Rather than using copy paper I use thick card stock or thin cardboard as blanks for my enlarged
patterns so they can be trimmed, saved and used as patterns many times. Both are impossible to run
through my own copier.
Again, exactitude as to the line is secondary to getting the enlargement to correct scale. After
all, you will be reworking your traced enlargement onto your wood stock when you get to your
bench.
