Building the Andre Roubo Bench
by Kerry Lancaster
Jonesboro, GA
This article first appeared in the April 2011 issue of Wood News Online
In 1973 my wife and I built my workshop, a 12' x 20' reproduction of an 18th Century Williamsburg
shop. I never imagined that I would ever need any more room than my original shop. I was so wrong.
After years of being crammed in that small structure we had a 12' x 16' addition added this past
August.
After completing the addition and putting a new coat of paint on the original portion of the shop
and getting everything organized with the help of my wife, I realized I had to have a workbench
other than my table saw. My first order of business was to build me a functional workbench.
I decided on the
Andre Roubo Workbench
designed in 1758. The design and joinery really caught my eye.
Then I found a book I had purchased years ago in Colonial Williamsburg "The Cabinetmaker" featuring
the Roubo Bench. I found a set of plans and began to study them. The process had begun, but I had
to gather all the materials necessary. Once they were all assembled the project was underway.
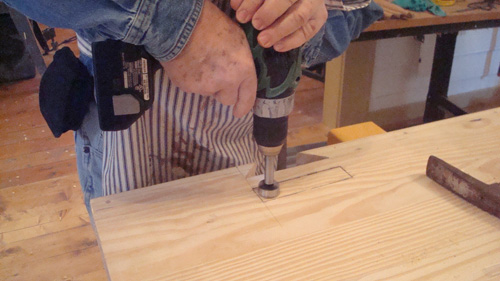
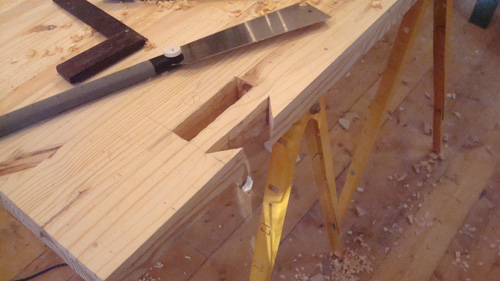
After three weeks of hand sawing, chiseling and pounding the wood, the bench became a reality.
The past 37 years I have built many items in my small, cramped 12' x 20' shop; a Shaker clock,
tables, picture frames, Chippendale mirror frames, headboards, six-board chests, a meal bin, a
kitchen island, a corner cabinet and a dozen Windsor chairs. We love 18th Century primitive
furniture and most of my projects have been along those lines. However, my first love is making
Windsor chairs and because I plan to continue to make chairs I had to adapt the Roubo Bench to my
specific needs. The bench had to be wider than the original in order to accommodate the leg span of
the Windsor chair, so I made the necessary adjustments to the bench plans.
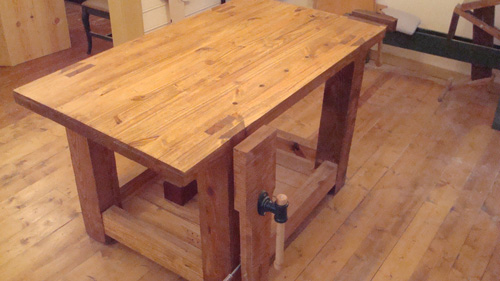
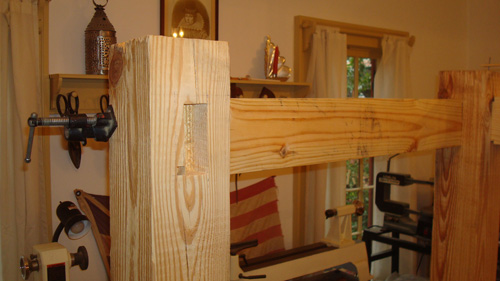
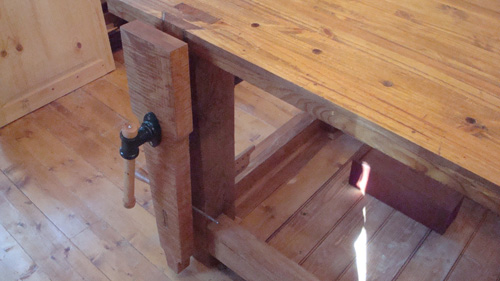
The bench is made of all pine, except for the leg vise, which is tiger maple. Pine was more
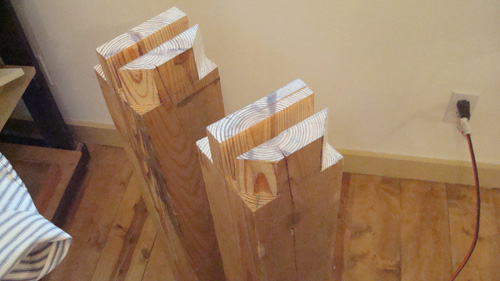
readily available and the 6" x 6" legs are half dovetailed and tenoned into the top. There is a
quick release vice at the opposite end of the bench and oak bench dogs flush in the table top
waiting to be used to secure flat work. This bench was built for the heaviest projects. When it
came time to turn the bench right side up I had to solicit the help from a neighbor and friend. It
took all three of us to get the bench turned. Believe me, this bench is heavy!
After the bench was completely assembled I smoothed the top by simply sanding it and finished the
entire bench with three coats of one-third spar varnish, one-third linseed oil and one-third mineral
spirits. I ragged this mixture on, wiping the excess off and allowed it to dry between each
coat.
Now I'm ready to get started on all those projects waiting to be done. I'm looking over lots of
patterns I've collected over the years. Of course, this will require trips to
Highland Woodworking
because I want to use quality tools and products for my woodworking projects. Highland Woodworking, my
favorite Atlanta landmark.
CLICK HERE
to find out more info and to purchase your own
Roubo Workbench Plans and Hardware.
Return to
Wood News
front page
