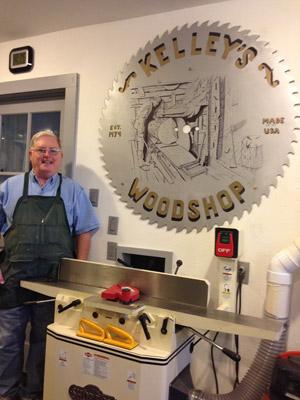
Here's My Workshop!
James Kelley
Spring, TX
Click on any picture to see a larger version.
I have been married for 41 years and have had some sort of shop that entire time. I am the son of a finish carpenter who always loved woodworking. Growing up in Alabama I never remember having a craftsman come to our house. We either built or added on to every house we ever lived in. We did it all ourselves (brick masonry, plumbing, roofing). My Dad was a jack of all trades - he never sat down and was always constantly doing something. Whether he knew how to do it or not, he tackled it and learned how by either talking to people who already knew how to do it, or he would teach himself.
With my Dad being the way he was, he got me started into woodworking when I was really young. I would always be making something out of the leftover scraps. My first major project with my Dad was when I was around 18 and he bought an old boat made out of mahogany. I helped him refurbish it and it was the first time that I had really worked with woodworking tools, including a table saw and a radial arm saw.
A few years later I started having kids of my own and by the time my second child was 6 months old, I had started assembling my first shop. I built most of my own tools including my original lathe and a disc sander out of scrap parts. Both of these have now been replaced with modern versions. I also built my own workbench that is now 35 years old. Over that time I have replaced the top with maple, but the base is still in its original form.
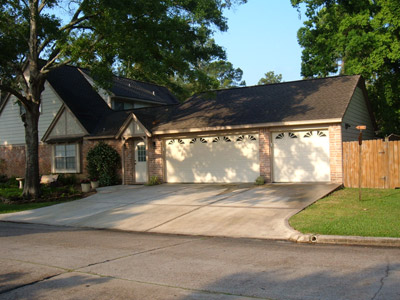
I moved to this particular shop in 1984 and converted it from a standard two car garage into my current shop. In the beginning the space was also shared with a bass boat that I wasn't able to keep outside due to deed restrictions, so it was a pretty full house. I got rid of the bass boat, which freed up space, and then 4 years ago I did a pretty big home renovation and almost completely redid the shop space.
|
|
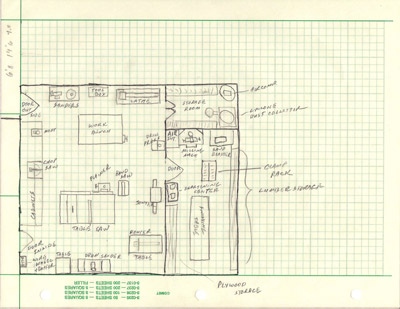
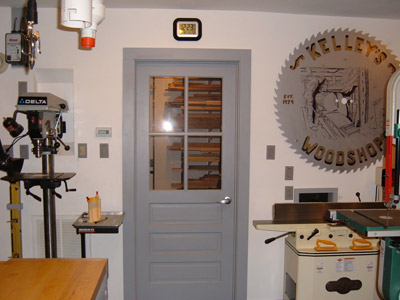
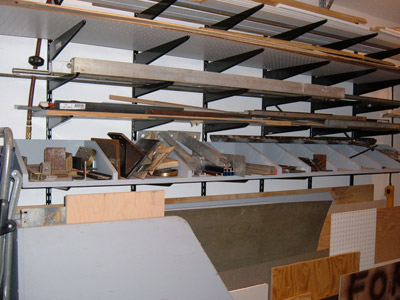
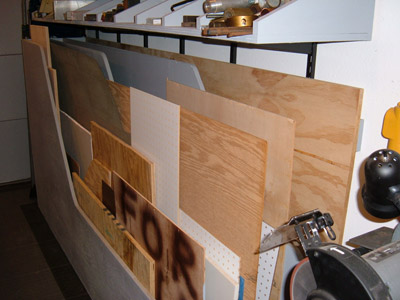
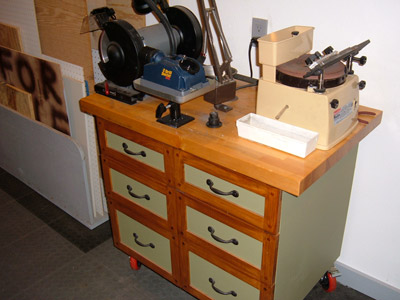
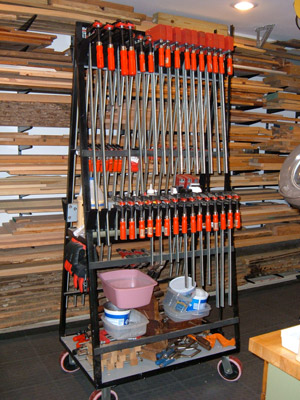
The overall dimensions of my shop are 30' wide and 26' deep. Everything in the shop is very strategically placed. I originally had a 10 foot bay area that was for my motorcycle, but when I stopped riding in 2008, I transformed that area into wood storage as well as the finishing table, clamp rack, milling machine and sand blasting cabinet. Not dust free by any stretch of the imagination, but the door between the main shop and the wood storage stays closed and the dust doesn't get stirred up in the finishing table room. Would love to have a finishing room that would allow me to do some spraying, but I just don't have the space.
|
|
|
|
|
|
When redoing my shop I hired a contractor to do the rough-in since I was working full-time. He poured the extra concrete, tore down the interior walls, framed it all in, moved the garage doors and put them in, and added a steeper pitch gable roof in that allowed a lot of storage above the shop. I did all the finishing in the shop once it was roughed in. I am able to not have anything stored in the actual shop except for my recycling bin. Everything else in the shop is shop-oriented. Every tool is in its place, otherwise it is missing.
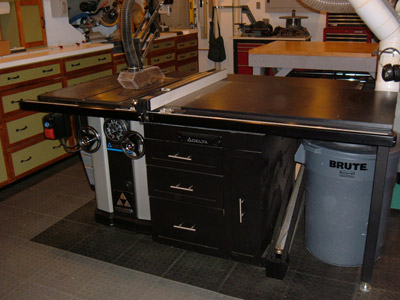
Right now I use a metal working lathe, but I have all of the parts to convert it to a wood lathe. I make sure I have good infeed and outfeed space for each tool. Many of the benches are all built at a size that makes them work well with the other tools - benches around the tablesaw are sized so they can help with infeed and outfeed.
|
|
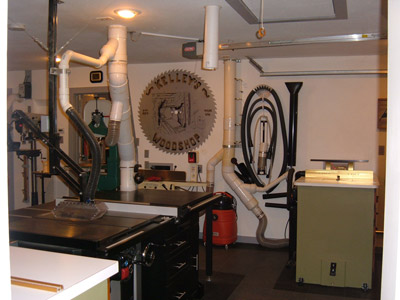
The space has its own central air and heat separate from the house. The storage room has a cyclone dust collector - the one blast gate is right over next to the double doors that go into the storage room. That dust port pulls air out of the sandblaster and the drill press. All the other blast gates are up in the attic, and all the piping is run in the attic. They are pneumatic with electric switches located at each of the tools. I was concerned after reading about the cyclone (true of almost any dust collection system) that you aren't allowed to deadhead them, make them suck against a brick wall. You need at least one gate open at all times. Having more than one blast gate allows me to have a smaller system and just use it machine by machine.
Shown in the picture above is a microswitch that signals if the gate is open or closed. Above every machine, there is a cover with a green and red light on it. I can always confirm the gate is open by checking to see if the light is green or red.
In the top left of the above picture you can see the panel with the green/red light. Also you can see the switch to the left of the chopsaw. I make sure that the tool I am using has a green light and that all of the other tools show red lights. Cabinets hold collectible antique tools, some from my dad, some that I've just picked up along the way.
|
|
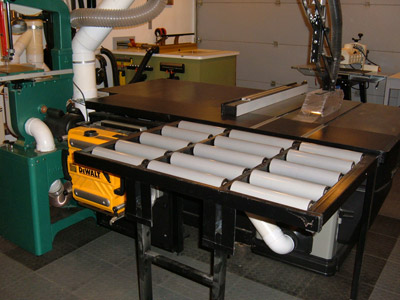
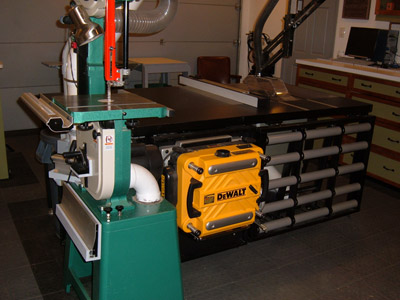
I built the flip-up outfeed table above - I like to weld.
|
|
|
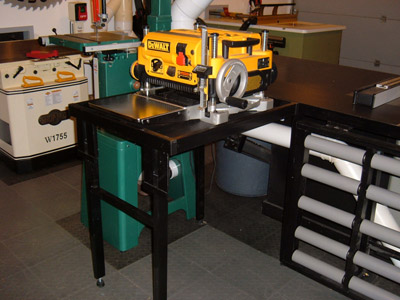
The outfeed table in the down position. Next to it is the Dewalt planer, also on a flip-up table.
|
Both the outfeed table and the Dewalt planer flip up the same way and they have the same legs on them. That way my workbench acts as the infeed table and the table saw acts as the outfeed table. What I learned after I put this setup together is that the planer is HEAVY and its really hard to flip up the table, so I put a pneumatic cylinder on the planer.
|
|
Open the left valve to lift it up, the right valve to bring it down.
|
Set of buffing wheels and wire wheels. These were on individual stands until they got displaced by the milling machine. Came up with the bright idea (seen in magazines) of a flip over work table - unscrew the black knob, the whole setup just free spins, spin it until the other tool is upright, push it back and it is ready to go. The frame is dry erase board so the splatter from the buffing material is easily wiped off. Below is a rough cutaway view.
My favorite thing to build in my shop is custom furniture. I just finished a desk for my daughter (shown below). She got a promotion and wanted a unique desk, similar to one she found in a magazine, which she sent to me. I have no interest in building something you could go buy and so I made the design unique. I like being able to design it so the pieces fit together and having to decide the joinery that goes into it.
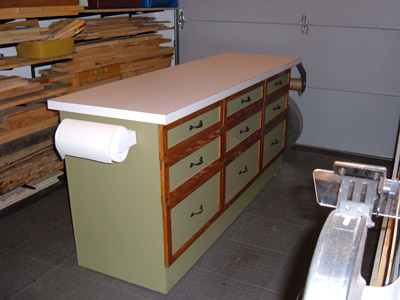
I also built all of the cabinetry within the shop, including all of the frames around all the drawers and upper cabinets. They are all made with half lap joints with square pegs holding it all together.
Below are more pictures of my shop organization.
Below are some more of my pieces that I have made in my shop.
If you have any questions about the blast gate setup or anything else in the shop you can email James at
jkelley409@comcast.net
.
Want to see more shops? Check out our
Shops Gallery
, featuring many of the
shops that we have featured in previous editions of Wood News.
Would you like for your shop to appear in this column? We invite you to
SEND US PHOTOS
of your woodworking shop along with captions and a brief history
and description of your woodworking. (Email photos at 800x600 resolution.) Receive a $50 store credit redeemable towards merchandise if we show your shop in a future issue.
