Tips From Sticks-In-The-Mud Woodshop
by Jim Randolph
Long Beach, Mississippi
Click on any picture to see a larger version.
Welcome to "Tips From Sticks-In-The-Mud Woodshop." I am a hobbyist, not a professional, someone who loves woodworking, just like you do. I have found some better ways to accomplish tasks in the workshop and look forward to sharing those with you each month, as well as hearing your problem-solving ideas.
Tip #1
Years ago a neighbor and I wanted to clear our mutual property line of an old fence and all of the vegetation that had infiltrated it. He asked me when I wanted to tackle the project. I said, "Sometimes I have more money than time, and sometimes I have more time than money. I can't justify paying someone to help you, so let's schedule it during the time of year I have more time than money." That same principle applies to sandpaper, too, as it turns out. How do you know when to throw a piece out and get a new one? When you have more money than time you can change sandpaper as soon as it quits cutting quickly. When you have more time than money, use compressed air, a strong vacuum, an abrasive cleaning stick or a pink eraser to unclog the cutting elements and keep working.
|
|
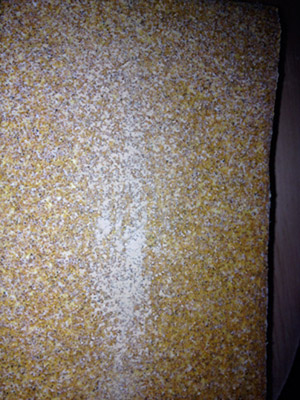
This 60-grit sandpaper is clogged, but still has a lot of use in it if you clean it. Compressed air works well, but be sure you have your eye protection on!
|
|
|
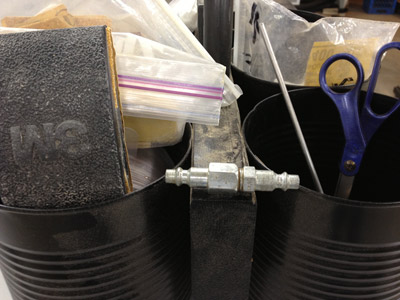
A homemade air nozzle like this one will maximize your air flow and ability to dislodge particles from clogged sandpaper. Eye protection is a must!
|
When random orbit discs quit working, there is usually still a part of the radius that will serve you well for hand-sanding. To prevent confusing worn out discs with lightly-used ones, keep a pair of scissors handy to cut the discs into halves or quarters, the perfect size for close hand work.
|
|
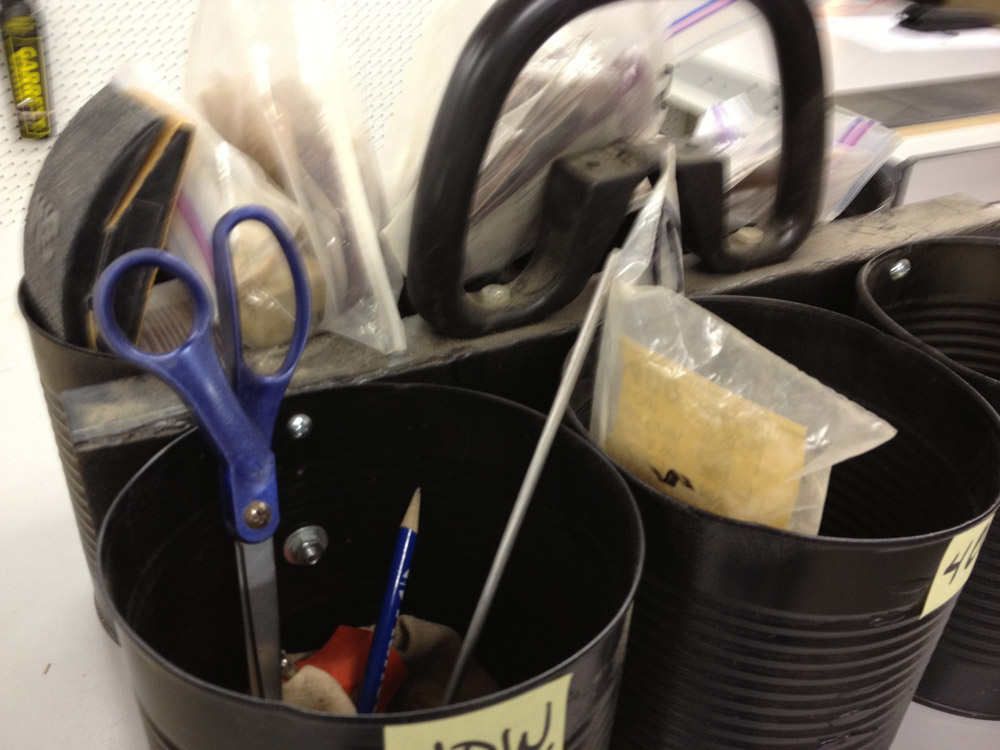
You can buy perfectly good scissors at Walmart for $2 per pair and they will last forever. I keep this pair in my sanding carryall so they are not confused with less-abused scissors. Cut the mostly-worn-out discs right away so they don't get used on the sander again.
|
|
|
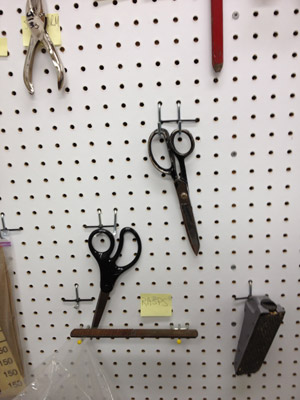
I have a dozen pairs of scissors around the shop, strategically located for ready access.
|
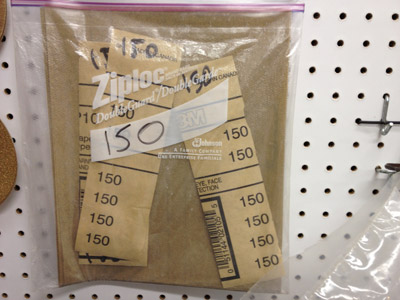
Store the pieces in the zipper-locking bag your new sandpaper is in,
July Tip #2
.
|
|
Having already written the grit on the back of these pieces allows you to identify it quickly. Turning the numbered side out allows you to see which bags have cut ends in them.
|
Or store it in a separate bag designated for used-but-still-usable paper. However, if the sandpaper is clogged with goo, throw it away.
|
|
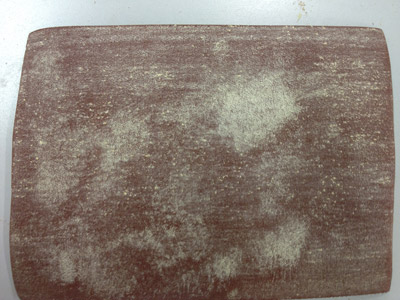
Hand-operated sandpaper will clog, but can be cleaned. Add heat, such as this belt sander, and the clog is baked-on, ruining the sandpaper much faster.
|
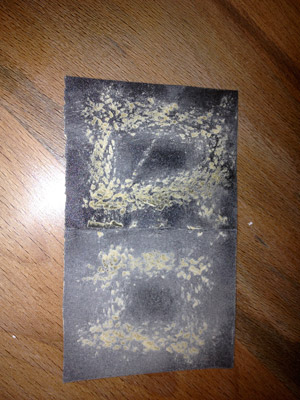
Continuing to apply gummed-up sandpaper to your project is going to introduce marring, and the finest grits clog fastest. Burnishing can produce some beautiful effects, but the sanding step isn't the time for burnishing, and that's actually what you are doing when you rub clogged sandpaper on your finish. Because you use the finest grits last, this is the most important time to avoid blemishes.
|
|
This paper is toast! No longer can you sand with this 600 grit paper, instead it will now make marks and streaks.
|
Tip #2
No Southern-fried Southern boy wants to be called a Yankee, but we share the characteristics of shrewdness and thrift. Thus, each month we include a money-saving tip. It's OK if you call me "cheap."
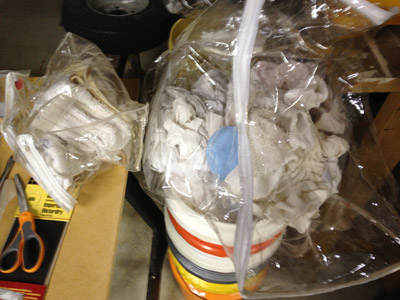
Speaking of reusing (I think the new-speak term is repurposing) castoffs, worn-out T-shirts and underwear still have a lot of use in the shop.
|
|
Holey T-shirt, Batman! Emergency trip to Gotham City's Dollar Store for more T-shirts! Seriously, these T-shirts and underwear (TMI?) still have a lot of life in them, at least in the finishing room.
|
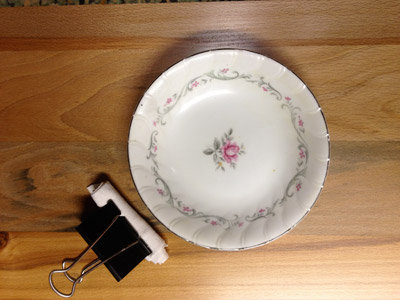
They are great for applying wipe-on polyurethane when cut in small strips, and, used whole, terrific for polishing up a waxed final surface. This next idea isn't mine, but I will always be grateful to the woodworker who gave it to me (whoever that was!). A spring-operated binder clip (see photo) is perfect for holding your T-shirt strips when applying wipe-on poly. Roll the strip medium-tightly, orienting it so that the hem is on the outside.
|
|
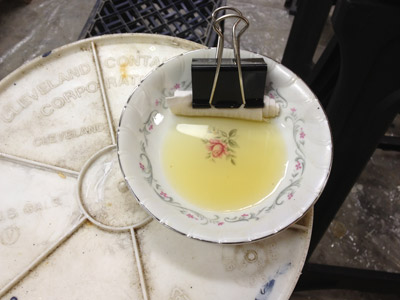
Rolled tightly and held firmly in this paper clip, pour some wipe-on poly into the ceramic bowl and begin applying. The bowl is shallow, easy to clean, and loads the T-shirt applicator evenly. Wipe out with mineral spirits when finished.
|
|
|
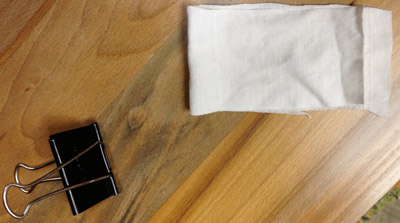
To ensure the hem is on the outside, start with a fold, the cut edge being a little short of the hem. Now, roll fairly tightly.
|
Reducing the exposure of cut edge fabric will also reduce stray threads on your finish.
|
|
Smooth operator! Roll it up and you have an excellent and absorbent applicator that is also easy to handle. Oh, and did I mention, almost free?
|
Jim Randolph is a veterinarian in Long Beach, Mississippi. His earlier careers as lawn mower, dairy farmer, automobile mechanic, microwave communications electronics instructor and journeyman carpenter all influence his approach to woodworking. His favorite projects are furniture built for his wife, Brenda, and for their children and grandchildren. His and Brenda's home, nicknamed Sticks-In-The-Mud, is built on pilings (sticks) near the wetlands (mud) on a bayou off Jourdan River. His shop is in the lower level of their home. Questions and comments on woodworking may be sent to
DrRandolph@MyPetsDoctor.com
. Questions about pet care should be directed to his blog on pet care,
www.MyPetsDoctor.com
. We regret that, because of high volume, not all inquiries can be answered personally.
Return to
Wood News
front page


