|
From my earliest days as a woodworker I resolved that I would never use any of the common, less expensive, soft woods like pine, fir or redwood (except maybe for bird houses). My thinking was that I often spend sometimes hundreds of hours on a project and it seemed logical that I should use more exotic or expensive woods to match the value of my time. I use everything from A (ash) to Z (ziricote) including osage, cocobolo, zebrawood, tulipwood (one of my favorites), bubinga, holly, afrormosia, and purpleheart. And since many of these woods are expensive, I do a lot of re-sawing, using the
Woodslicer band-saw blades from Highland Woodworking
(I've been using them for years and they just can't be beat when it comes to re-sawing.)
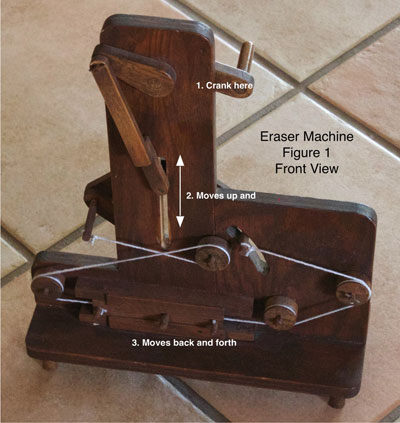
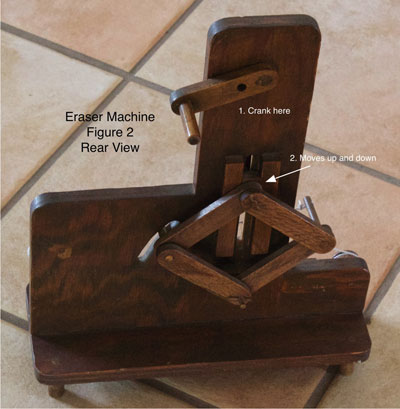
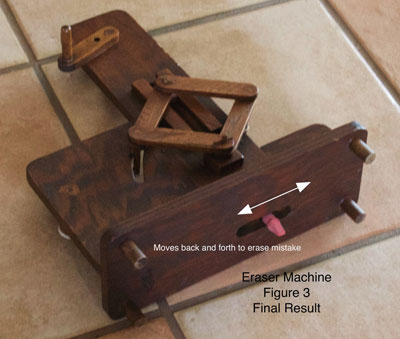
Way, way back in my woodworking career I had the idea of making a series of all-wood machines that would do all sorts of crazy, "labor-saving" but essentially useless jobs. In addition, I would make the machines as complicated as possible to increase the irony. One result of the idea was an eraser machine to be used when you're drafting something in pencil, make a mistake and need to erase it. Figure's 1, 2 and 3 show the result.
|
|
Figure 1
|
|
|
Figure 2
|
|
|
Figure 3
|
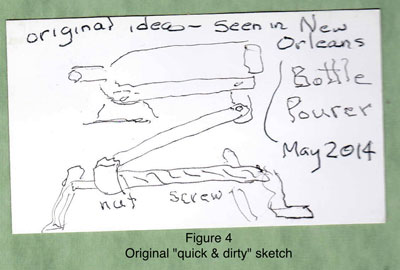
More recently that old idea was reborn while my wife and I were on a vacation in New Orleans in 2014. We stopped into a fancy lamp store in the French Quarter and there on a shelf was a hand-made, metal, hand-cranked wine-pouring machine. See Figure 4 for the quick sketch I made of it on the spot. I decided then and there that I had to make a similar machine, but this one would be made out of wood. .
|
|
Figure 4
|
After we returned home I drew a few preliminary sketches and using some scrap wood I built a "quick and dirty" mock-up to test my initial ideas. I'm sorry that I didn't take any pictures of that mock-up but it showed me that I was on the right track and that a more refined version would actually work.
Cutting the threads using a tap and die set was an interesting learning experience. Tapping the internal threads went quite well. Cutting the external threads was a somewhat different story. First I experimented with a piece of 1" poplar rod that I bought at a local lumber yard. The results were poor with a lot of chipped or incomplete threads. When I tried cutting threads on a sample of cherry rod, the results were better but there was still some chipping on the crest of the threads. I finally got good results as follows. First, I coated the entire surface of the cherry rod with thin cyano-acrylate. This stuff easily and quickly penetrates the wood and gives strength to the delicate crests of the thread. Finally I used ordinary household dishwashing detergent as a lubricant when actually cutting the threads. The detergent easily washes off before any later finishing.
Although one may not consider this a woodworking tool, one of my most recent purchases from Highland Woodworking was a
Cross Slide Drill Press Vise
. Used on my drill press with various router bits, it allows me to use my drill press as a "poor man's" milling machine to do work that would be difficult any other way. Cutting the teeth on the gear rack was a relatively simple job using it.
Off and on the whole project took me about two years to complete. But the main reason for that is that I always let myself get distracted by the latest hot idea I have for another project. (I usually have about five or six "in the works" at any one time. It's a curse and I often wonder whether other woodworkers suffer from the same thing.)
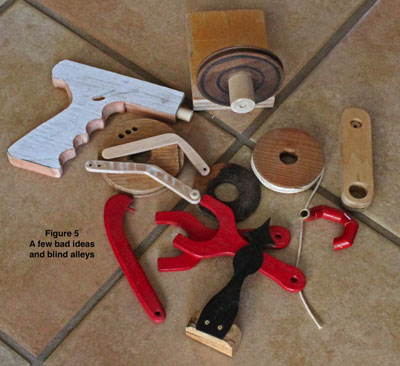
Along the way I had a few failures, bad ideas, blind alleys and just plain mistakes. (Anyone who is familiar with any kind of product design - which was one of my main jobs during my career - will understand how that is a normal situation when developing a new machine or manufacturing process.) See Figure 5 for a few of those blind alleys.
|
|
Figure 5
|
Finally, I decided that my machine had enough "bells and whistles" and that it was time to call it complete. (As an aside, someone once told me that the secret of good art is knowing when to stop. I believe that.)
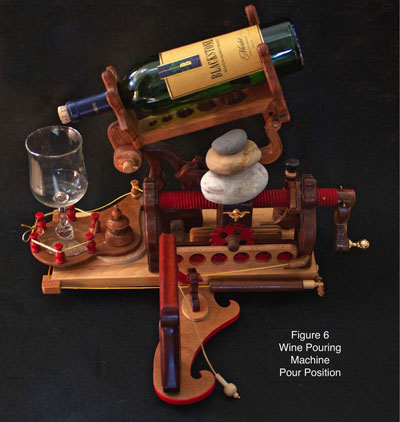
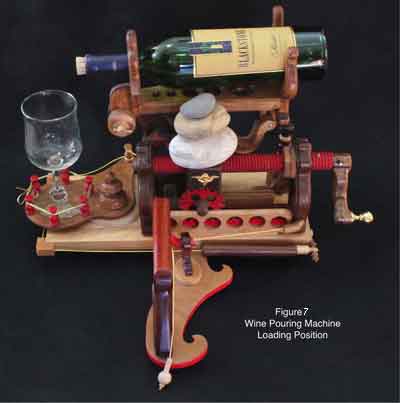
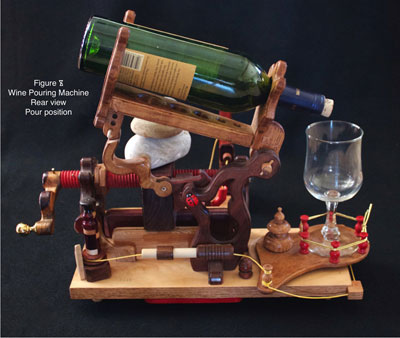
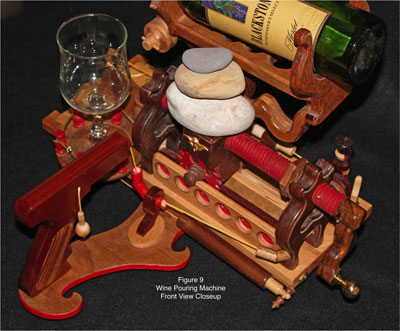
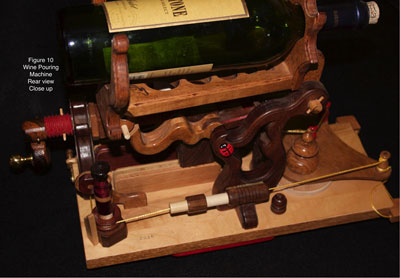
Figures 6 - 10 show the completed wine-pouring machine. It is designed to be a "labor-saving" device and it works like this.
|
|
Figure 6
|
First, you select a bottle of wine of your choice and insert it into the bottle holder yokes at the top of the wine-pouring machine. Then remove the cork. (This is an important step.) Then you place your glass on the loading platform on the left. Next you hold the pistol grip in your left hand while you pull gently on the glass loading cord. When the glass reaches the pour position, you retain the cord with your left thumb and begin turning the pouring crank on the right side of the machine.
|
|
Figure 7
|
Continue pouring until you are satisfied with the glass contents. Immediately stop cranking and reverse the cranking rotation. Release the glass loading cord and remove the filled glass. Repeat this operation until you have had enough to drink. (Or cannot coordinate your movements any longer.)
|
|
Figure 8
|
(By the way, some of you may wonder about the three rocks sitting on the top of the gear mounting block. During the testing phases it was discovered that weight was needed in order to keep the gear engaged with its mating rack. Addicted as I am to using natural materials, rocks seemed to be the only appropriate solution.)
|
|
Figure 9
|
|
|
Figure 10
|
You can email Paul at
pburri@cox.net
.
Return to
Wood News
front page
|